Published by abd4you.news/ | Last Updated: April 2026
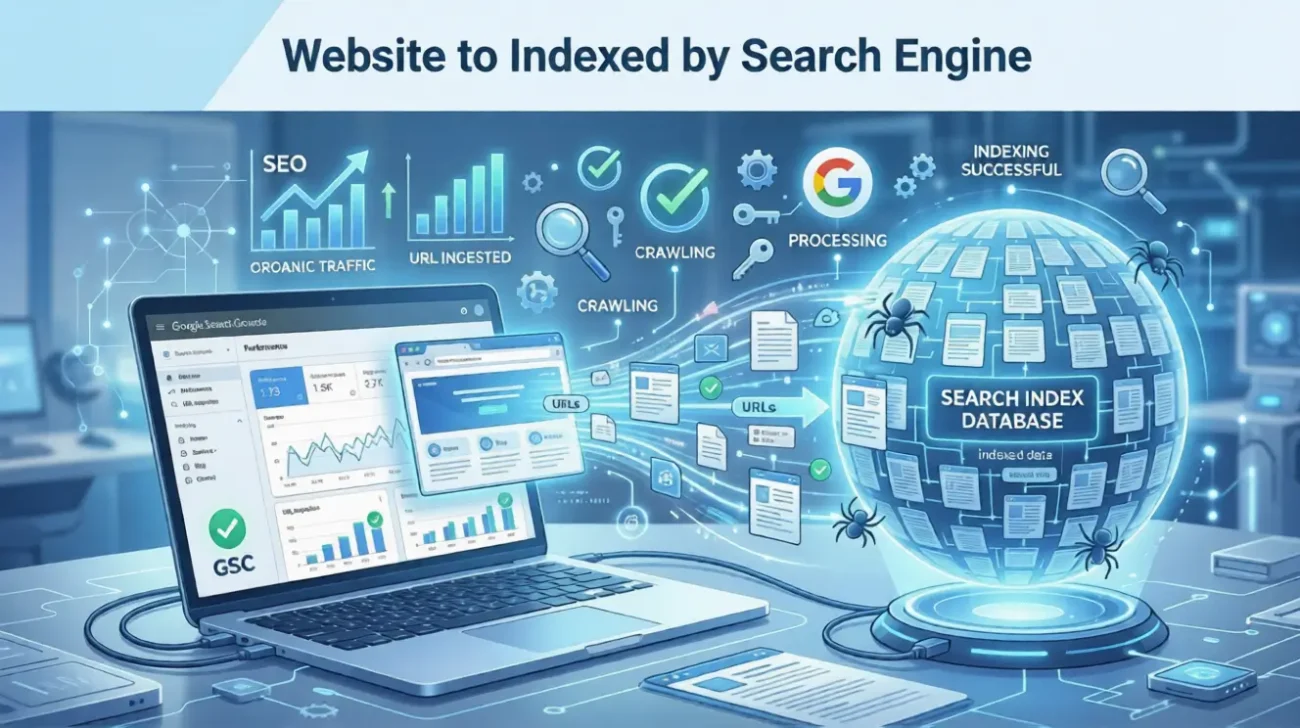
So you just published a brand-new blog post or page — and it’s sitting in the dark, invisible to Google. Frustrating, right?
The good news is you don’t have to sit around and wait days (or weeks) for Google to discover it on its own. Using Google Search Console, you can manually request indexing for any page on your website and get it crawled and indexed much faster.
In this complete step-by-step guide, I’ll walk you through exactly how to do that — from setting up Search Console to requesting indexing for your pages — with screenshots at every stage so you know exactly what to look for.
Whether you’re a complete beginner or someone who’s been doing this for a while but never quite understood why some pages aren’t showing up in search results, this guide is for you.
Let’s dive in.
Table of Contents
- What Is Google Search Console?
- Why Indexing Matters for SEO
- How to Set Up Google Search Console (If You Haven’t Already)
- How to Check If Your Pages Are Already Indexed
- How to Submit a Single URL for Indexing
- How to Submit a Sitemap to Google
- Common Indexing Errors and How to Fix Them
- How Long Does Google Take to Index a Page?
- Pro Tips to Speed Up Indexing
- Frequently Asked Questions
1. What Is Google Search Console?
Google Search Console (GSC) — previously known as Google Webmaster Tools — is a free tool provided by Google that helps you monitor, maintain, and troubleshoot your website’s presence in Google Search results.
Think of it as your direct communication line with Google. Through it, you can:
- See which of your pages Google has already crawled and indexed
- Submit new or updated pages for indexing
- Submit XML sitemaps
- Check for crawl errors and manual penalties
- Monitor your site’s performance in search (clicks, impressions, rankings)
For anyone serious about SEO, Google Search Console is non-negotiable. And one of its most immediately useful features is the URL Inspection Tool — which we’ll be using throughout this guide to manually request indexing.
If you’re new to SEO and want to learn more foundational concepts, check out our beginner’s guide to SEO on abd4you.news/ — it covers everything from keywords to technical SEO in plain language.
2. Why Indexing Matters for SEO
Before we get into the how-to, let’s quickly cover the why — because understanding this will help you use Search Console more strategically.
Indexing is the process by which Google adds your page to its search database. A page that isn’t indexed simply doesn’t exist in Google’s eyes. No matter how great your content is, if it’s not indexed, it will never show up in search results.
Here’s how the process works:
- Crawling — Google’s bots (called “Googlebots” or “spiders”) crawl the web, following links from page to page.
- Indexing — After crawling, Google analyzes the content and adds it to its index (if it meets quality standards).
- Ranking — Indexed pages are then ranked based on hundreds of factors when users search for related terms.
The problem is that Google doesn’t crawl every page instantly. New sites or low-authority sites can wait weeks before Googlebot even visits. Using Search Console, you skip the line — at least partially.
3. How to Set Up Google Search Console
If you already have Search Console set up, skip ahead to Section 4. If not, follow these steps.
Step 1: Go to Google Search Console
Head over to search.google.com/search-console and sign in with your Google account.
Step 2: Add Your Property
You’ll see two options:
- Domain (recommended) — Covers all versions of your site (http, https, www, non-www, subdomains). Requires DNS verification.
- URL Prefix — Covers only one specific URL version. Easier to verify but less comprehensive.
For most people, Domain is the better choice. Type in your domain name (e.g., abd4you.news/) and click Continue.
Step 3: Verify Ownership
Google needs to confirm you actually own the site. The easiest method depends on your setup:
- DNS verification (for Domain property) — You’ll add a TXT record to your domain registrar (like Namecheap, GoDaddy, Cloudflare). Copy the TXT record Google gives you and paste it into your DNS settings.
- HTML file — Download a small HTML file from GSC and upload it to your website’s root directory.
- HTML meta tag — Paste a
<meta>tag into your site’s<head>section. If you’re on WordPress, the Yoast SEO or RankMath plugin makes this super easy. - Google Analytics — If you already have GA4 connected to the same Google account, you can verify through that.
Once done, click Verify.
Step 4: Wait for Verification
After adding the verification code, come back and click Verify. Google will confirm ownership within a few seconds (sometimes a few minutes for DNS records to propagate).
Once verified, you’ll land on your Search Console dashboard.
4. How to Check If Your Pages Are Already Indexed
Before you request indexing, it’s smart to check whether Google has already indexed your pages. There are two quick ways to do this.
Method 1: Use the URL Inspection Tool
In Google Search Console, look at the left sidebar and click URL Inspection. Then paste the full URL of the page you want to check (e.g., https://abd4you.news/your-article-title/) into the search bar at the top and press Enter.
SCREENSHOT 1 — URL Inspection Tool: Page Not Yet Indexed
After a few seconds, you’ll see one of two results:
✅ URL is on Google — The page is indexed. You’ll see green text and details about when it was last crawled, the canonical URL, and indexing status.
❌ URL is not on Google — The page has not been indexed. You’ll see a notice explaining why (if Google knows).
SCREENSHOT 2 — Live Test Running: “Testing if page can be indexed”
Method 2: Use the “site:” Operator in Google
Open Google and type:
site:yourdomain.com/your-page-url
If the page appears in results, it’s indexed. If nothing shows up, it isn’t.
This is a quick sanity check — but the URL Inspection Tool in Search Console gives you much more detail about why a page isn’t indexed.
5. How to Submit a Single URL for Indexing
This is the core of what most people come here for. Here’s how to manually request that Google index a specific page.
Step 1: Open URL Inspection Tool
In Search Console, click URL Inspection in the left sidebar. This will open the inspection bar at the top.
Step 2: Enter the Page URL
Type or paste the full URL of the page you want to index. Make sure it starts with https:// (or http:// if your site doesn’t use SSL — but you really should have SSL in 2025).
Press Enter.
Step 3: Review the Status
Google will show you the current status of that URL. Look at the main panel:
- If it says “URL is on Google” — great, it’s already indexed! You can still request a re-crawl if you’ve updated the page.
- If it says “URL is not on Google” — this is when you need to request indexing.
Also pay attention to the section labeled “Coverage” — it will tell you whether the page is:
- Submitted and indexed ✅
- Crawled but not indexed ⚠️
- Discovered but not indexed ⚠️
- Excluded by noindex tag ❌
- Blocked by robots.txt ❌
Step 4: Click “Request Indexing”
If the page is not yet indexed (or if you want to force a re-crawl after updates), click the “Request Indexing” button. It’s prominently displayed in the result panel.
Step 5: Wait for the Process to Complete
After clicking the button, Google will run a quick live test on your URL. You’ll see a loading animation with the message “Testing if page can be indexed.” This usually takes about 30–60 seconds.
Step 6: Confirmation Message
Once the test is done, you’ll see a green popup or confirmation message that says:
“Indexing requested”
This means your request has been sent to Google’s indexing queue. Google will typically crawl the page within a few hours to a few days.
SCREENSHOT 3 — Indexing Requested Successfully ✅
Important: Requesting indexing doesn’t guarantee your page will be indexed. If the page has quality issues, is blocked by robots.txt, has a noindex tag, or is considered a duplicate by Google, it may still not make it into the index. We’ll cover how to fix those issues below.
6. How to Submit a Sitemap to Google
Manually requesting indexing works great for individual pages — but what about your whole site? That’s where sitemaps come in.
A sitemap is an XML file that lists all the pages on your website. Submitting it to Google tells Googlebot exactly where to crawl and what pages exist on your site.
What Is a Sitemap?
Your sitemap URL usually looks like one of these:
https://abd4you.news/sitemap.xmlhttps://abd4you.news/sitemap_index.xmlhttps://abd4you.news/post-sitemap.xml
If you’re using WordPress with Yoast SEO, RankMath, or All in One SEO, your sitemap is automatically generated. Check your plugin settings to find the exact URL.
Step 1: Go to Sitemaps in Search Console
In the left sidebar of GSC, click on Sitemaps under the “Indexing” section.
SCREENSHOT 4 — Sitemaps Section: Submitting and Viewing Status
| Sitemap | Type | Submitted | Last read | Status | Discovered URLs |
|---|---|---|---|---|---|
| /sitemap_index.xml | Sitemap index | Apr 12, 2025 | Apr 14, 2025 | Success | 247 |
| /post-sitemap.xml | Sitemap | Apr 12, 2025 | Apr 14, 2025 | Success | 198 |
| /page-sitemap.xml | Sitemap | Apr 12, 2025 | Apr 13, 2025 | Success | 49 |
Step 2: Enter Your Sitemap URL
In the box that says “Add a new sitemap,” type the path to your sitemap file. You only need to enter the part after your domain — for example, just sitemap.xml or sitemap_index.xml.
Then click Submit.
Step 3: Check the Status
After submitting, you’ll see your sitemap listed below with a status column. Wait a few minutes and refresh — it should show:
- Success — Google could read and process your sitemap ✅
- Couldn’t fetch — Google had trouble accessing the file ❌
- Has errors — The sitemap was fetched but has errors ⚠️
If your status shows “Success,” Google will start crawling the URLs in your sitemap — no further action needed on your end.
Pro Tip: Submit multiple sitemaps if your SEO plugin generates separate ones for posts, pages, categories, and images. The more specific your sitemaps, the easier it is for Google to understand your site structure.
7. Common Indexing Errors and How to Fix Them
Sometimes pages just won’t get indexed — and Search Console will usually tell you why. Here are the most common issues and what to do about each.
Error 1: “Crawled – Currently Not Indexed”
What it means: Google visited your page but decided not to index it. This usually happens when Google thinks the content is thin, low-quality, or a duplicate of something else.
How to fix it:
- Make sure your content is substantial and adds real value
- Check for duplicate content issues using a tool like Screaming Frog or Semrush
- Add internal links pointing to this page from other indexed pages on your site
- Improve the page’s content depth and uniqueness
Error 2: “Discovered – Currently Not Indexed”
What it means: Google knows the page exists (probably from your sitemap) but hasn’t gotten around to crawling it yet.
How to fix it:
- Use the URL Inspection Tool to manually request indexing
- Make sure the page is linked from other pages on your site (internal links matter!)
- Be patient — this often resolves on its own within a few days
Error 3: “Excluded by ‘noindex’ Tag”
What it means: Your page has a <meta name="robots" content="noindex"> tag in the HTML, telling Google to skip it.
How to fix it:
- In WordPress, check your SEO plugin (Yoast, RankMath) settings for that specific page
- Make sure the “No Index” toggle is turned off
- Also check your WordPress Reading Settings — there’s a checkbox that says “Discourage search engines from indexing this site” — make sure it’s unchecked
Error 4: “Blocked by robots.txt”
What it means: Your robots.txt file is preventing Google from crawling the page.
How to fix it:
- Go to
https://yourdomain.com/robots.txtand check if there’s aDisallowrule blocking the page or directory - If you’re blocking something unintentionally, remove the rule and then re-request indexing
Error 5: “Duplicate, Google Chose Different Canonical”
What it means: Google thinks another URL is the “main” version of this content and is indexing that one instead.
How to fix it:
- Check your canonical tags — they should point to the correct, preferred URL
- Use consistent internal linking to the canonical version of each page
8. How Long Does Google Take to Index a Page?
This is one of the most common questions — and honestly, the answer varies.
After you request indexing through Search Console:
- New content on established sites: A few hours to 1–2 days
- New content on newer or low-authority sites: 3–14 days
- Sites with rarely updated content: Could take several weeks
A few factors that affect indexing speed:
- Site authority and backlinks — Older, more trusted sites get crawled more frequently
- Crawl budget — Google allocates a certain number of crawls per site per day. Large sites with lots of pages may have prioritization issues.
- Internal linking — Pages with more internal links pointing to them get found and crawled faster
- Content quality — Google’s indexing systems deprioritize thin or duplicate content
The fastest way to get a new page indexed quickly is: request indexing manually AND make sure the page is linked from an already-indexed page on your site.
9. Pro Tips to Speed Up Indexing
Based on experience and what SEO professionals consistently see working, here are the tips that actually move the needle:
Tip 1: Add Internal Links From Indexed Pages
The moment you publish a new article, go to 2–3 already-indexed pages on your site that are related and add a link to your new page. This signals to Googlebot that the page is important and gives it a direct path to crawl it.
Tip 2: Share on Social Media
While social signals aren’t a direct ranking factor, sharing your content on Twitter/X, LinkedIn, Facebook, or Pinterest can drive traffic — and Googlebots do follow links from these platforms. It’s a small boost, but it helps.
Tip 3: Get a Backlink From an Established Site
Even one external backlink from a high-authority domain can dramatically speed up indexing. If you can get your content mentioned or linked on another website in your niche, it’ll likely get crawled very quickly.
Tip 4: Keep Your Sitemap Updated
Make sure your sitemap is always up-to-date with your latest content. Most SEO plugins handle this automatically, but double-check by visiting your sitemap URL after publishing new content.
Tip 5: Fix Crawl Errors First
If your site has existing crawl errors (like broken pages returning 404 errors, redirect chains, or server errors), Google will deprioritize crawling your site. Clean these up in the Pages section of Search Console.
Tip 6: Improve Page Speed
Google’s crawlers have a limited time budget on your site. If pages load slowly, Googlebot may not crawl as many of them. Use Google PageSpeed Insights or Core Web Vitals data from Search Console to identify and fix performance issues.
Want a deeper dive into technical SEO? Visit abd4you.news/ for more guides on site speed, structured data, and everything else that affects your search performance.
10. Frequently Asked Questions
Can I request indexing for any page?
You can request indexing for any page that you’re authorized to manage in Search Console. However, requesting it doesn’t guarantee Google will index it — quality, duplicate content, and technical issues can all prevent indexing.
How many indexing requests can I make per day?
Google has a limit of approximately 10–12 URL inspection requests per day through the Search Console interface. If you need to submit many URLs at once, use the sitemap submission method instead.
Should I request re-indexing after updating a page?
Yes! If you’ve made significant changes to a page (updated information, added new sections, fixed errors), it’s a good idea to use the URL Inspection Tool and request re-indexing so Google crawls the latest version.
What if my page says “Indexed” but doesn’t show up in search results?
Being indexed doesn’t mean ranking. Your page is in Google’s database, but how it ranks depends on SEO factors like content quality, backlinks, keyword optimization, user experience, and page authority. Focus on those elements to improve rankings.
Does Search Console cost money?
No — Google Search Console is completely free. All you need is a Google account and a website.
Can I use Search Console for a site I don’t own?
You can only use Search Console for properties you’ve verified ownership of. You can add multiple users (like an SEO consultant or developer) through the Settings section under Users and Permissions.
Wrapping Up
Indexing your pages through Google Search Console is one of the most straightforward things you can do to improve your site’s visibility — and it takes less than five minutes once you’re set up.
Here’s a quick recap of what we covered:
- Set up Google Search Console by verifying ownership of your domain
- Use the URL Inspection Tool to check whether specific pages are indexed
- Request indexing manually for new or updated pages using the “Request Indexing” button
- Submit your sitemap to help Google discover and crawl your entire site efficiently
- Diagnose and fix indexing errors like noindex tags, robots.txt blocks, or thin content
- Speed up indexing through internal linking, fresh content, and fixing crawl issues
The most important thing? Don’t just publish and hope for the best. Be proactive. Use these tools, check your coverage reports regularly, and fix issues as they come up.
If you found this guide helpful, check out more SEO and digital marketing tutorials at abd4you.news/ — we cover everything from on-page optimization to building backlinks and beyond.
Have questions or something that worked for you? Drop a comment below — I’d love to hear about your experience with Google Search Console.
Related Articles on abd4you.news/:
2 thoughts on “How to Index Your Site Pages on Google Using Search Console (Complete Guide 2026)”